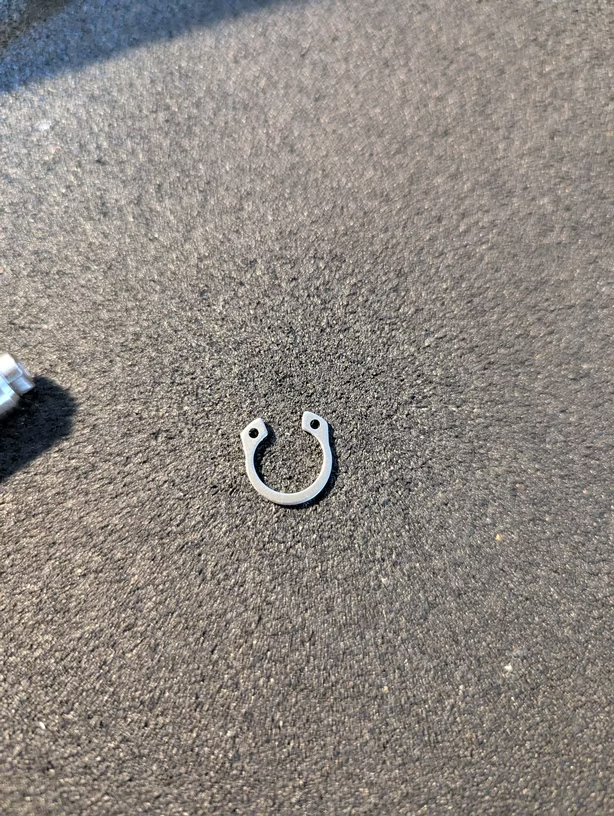
The Kingrinder K6 is a popular manual coffee grinder known for its consistent grind quality and durability. However, after only 6 months of use with the Ross Droplet Technique (RDT), my K6’s bearings failed prematurely due to rust damage. The small amount of water I was adding to coffee beans (0.5-1g) to reduce static created moisture that found its way to the internal bearings, causing rapid corrosion. This post documents the complete bearing replacement process necessitated by this unexpected failure.
What You’ll Need
Before starting, gather all the necessary tools and replacement parts:
Parts:
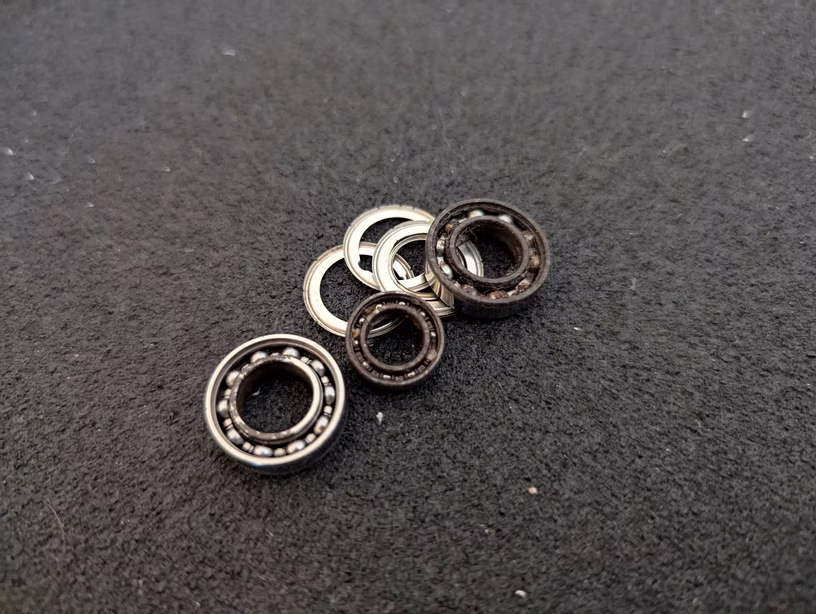
- Replacement bearings (check your model’s specifications)
- 1x top bearing: 8x14x4 e.g. SS-MR-148-2RS / SMR148 2RS
- 2x bottom bearing: 10x19x5 e.g. SC 6800 2RS J Si3N4 Keramiklager (J = Edelstahlkäfig, gefettet)
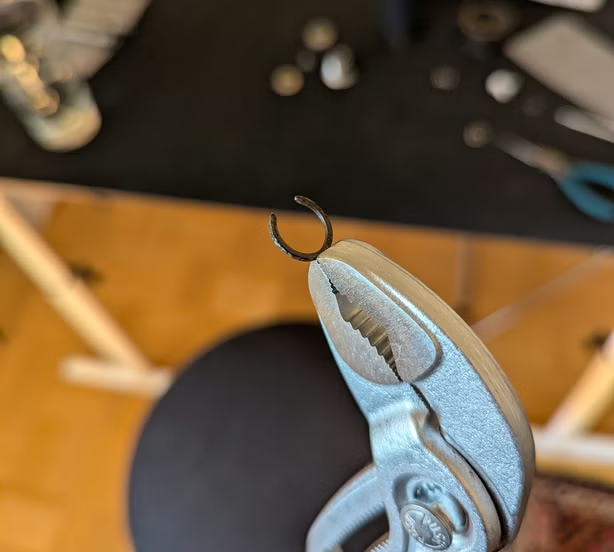
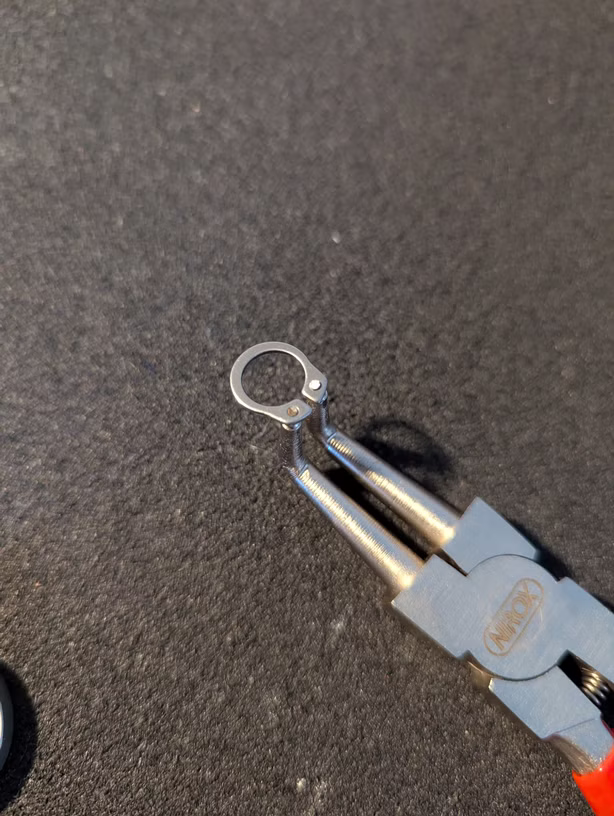
- Circlip for 9-10mm shaft e.g. Sicherungsring SS-A10 für Welle 10 mm (ideally order multiple sizes)
Tools:
- Circlip pliers
- Small screwdrivers
- Calipers for measuring
- WD40 to clean rusty parts
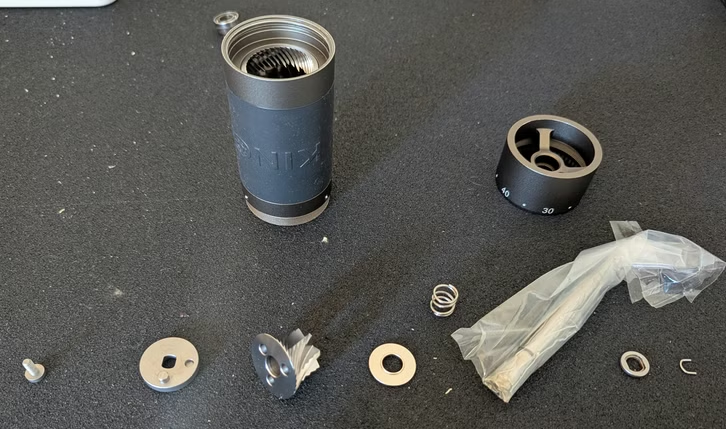
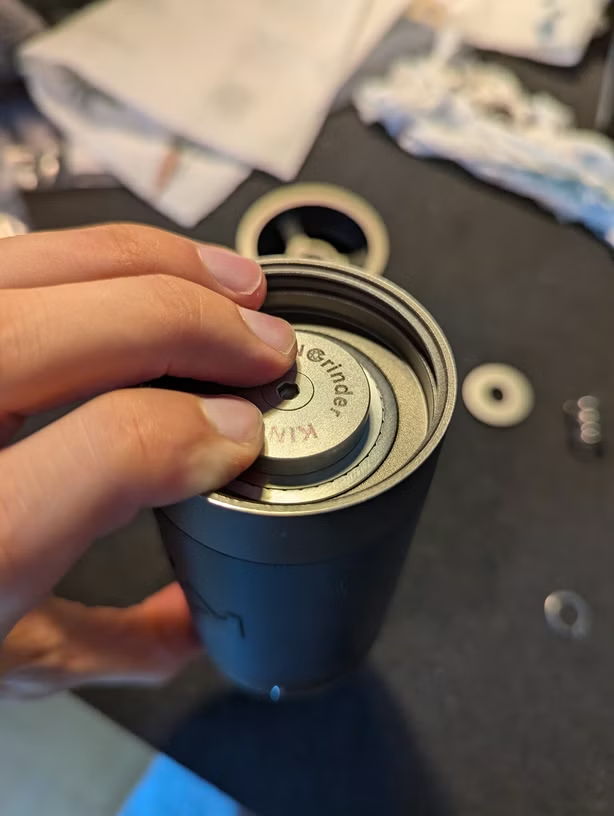
Disassembly
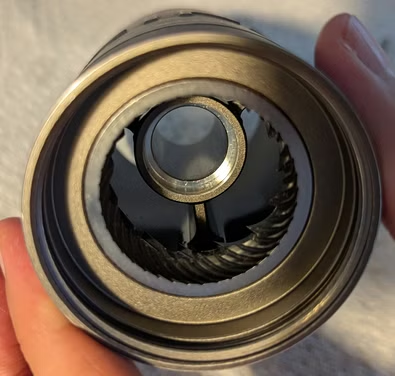
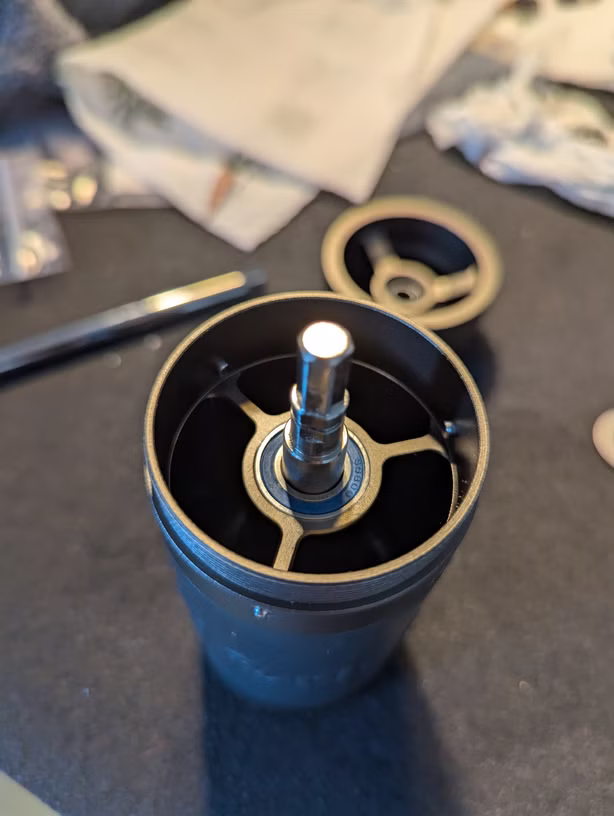
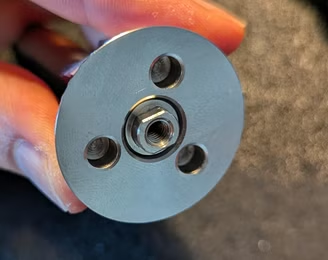
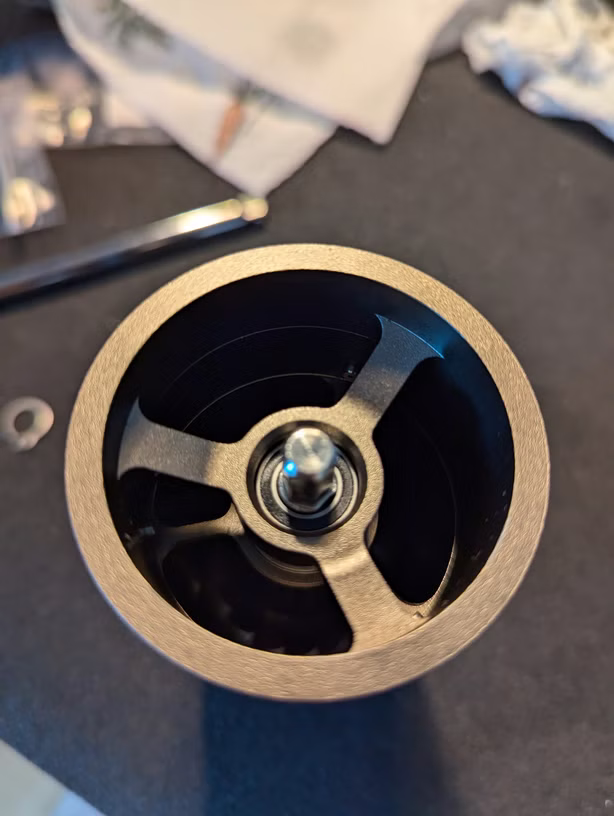
View from the Top
Bearing Replacement
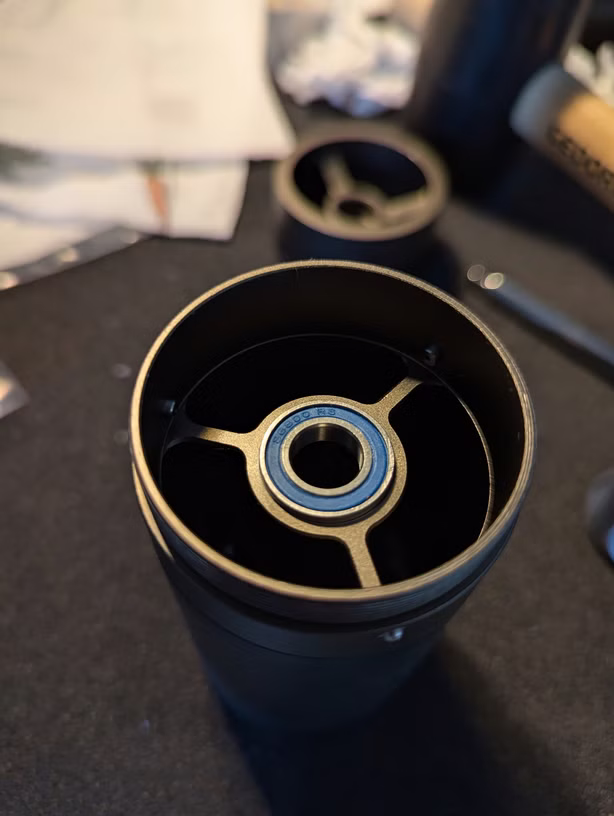
The new bearing fits perfectly and should provide smooth, quiet operation for years to come.
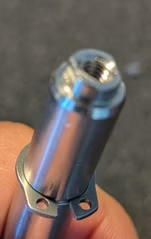
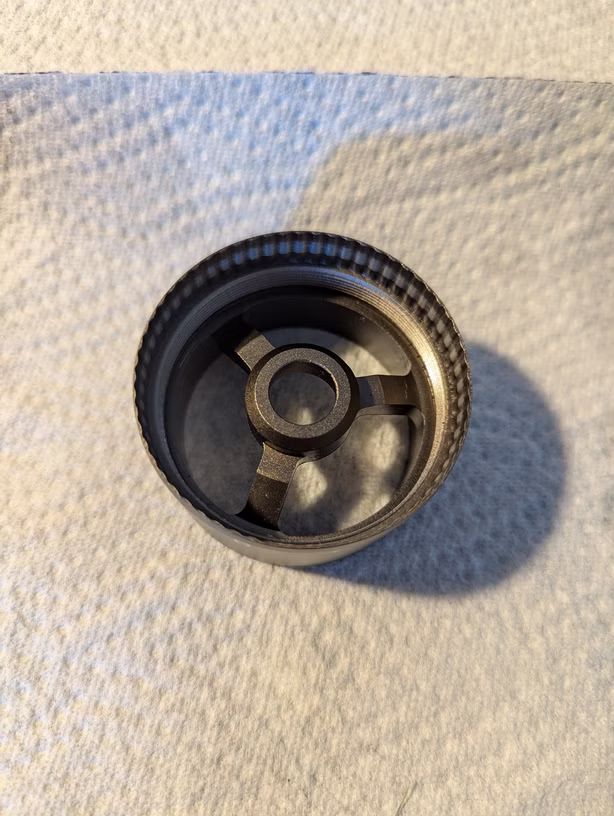
Axle Assembly Process
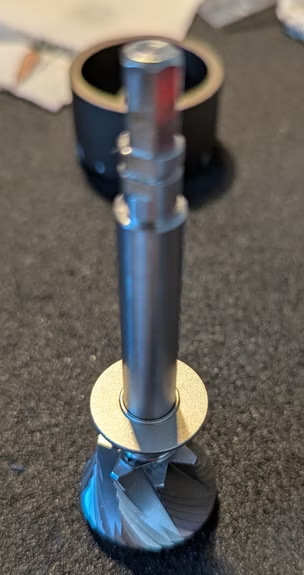

The axle assembly process requires patience and precision. Make sure the bearing is properly seated and the axle moves freely without binding.
Circlip
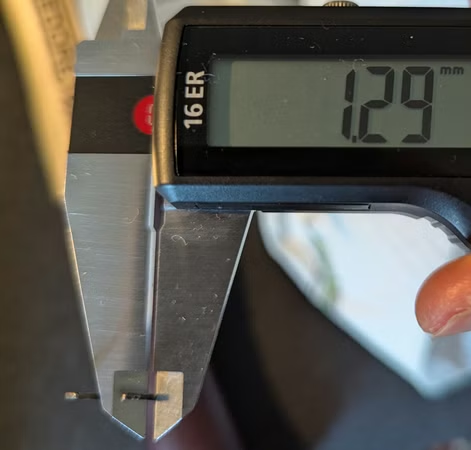
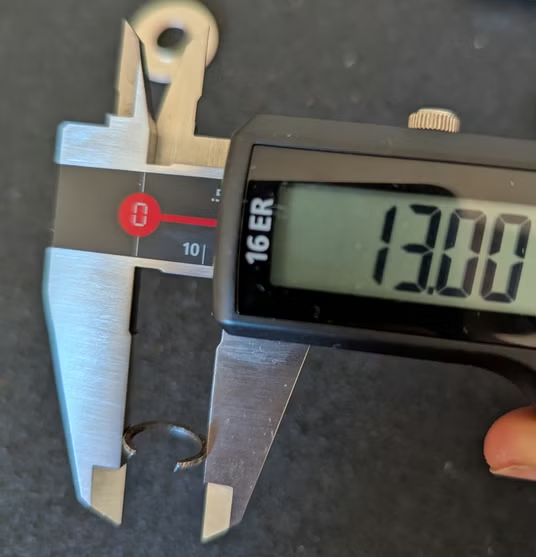
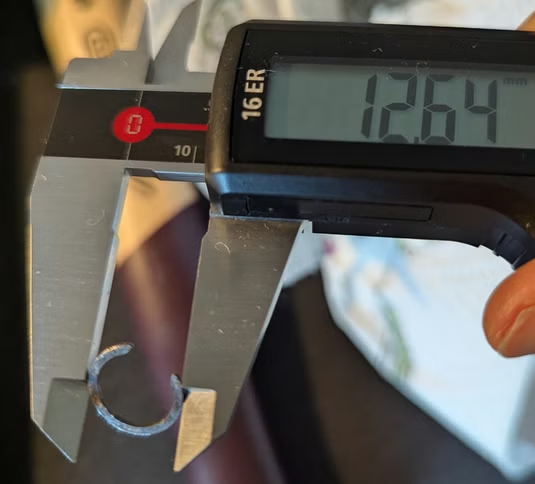
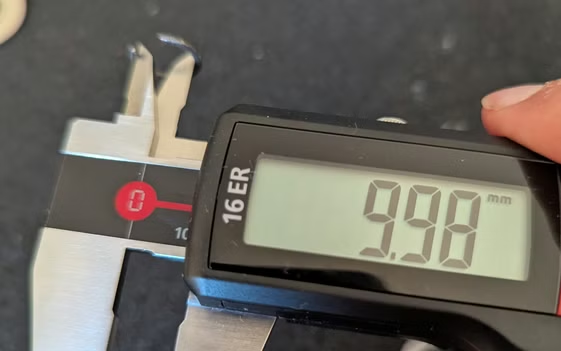
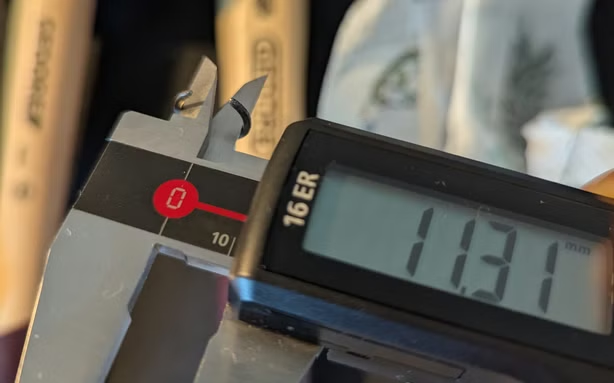
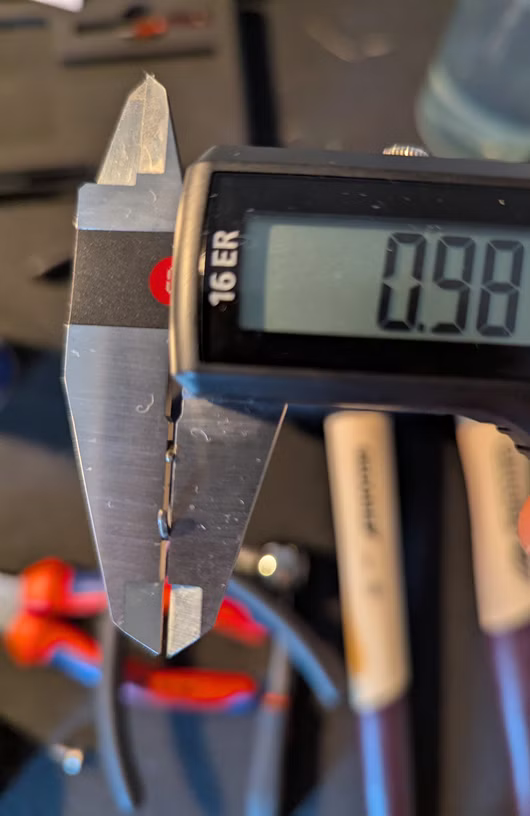
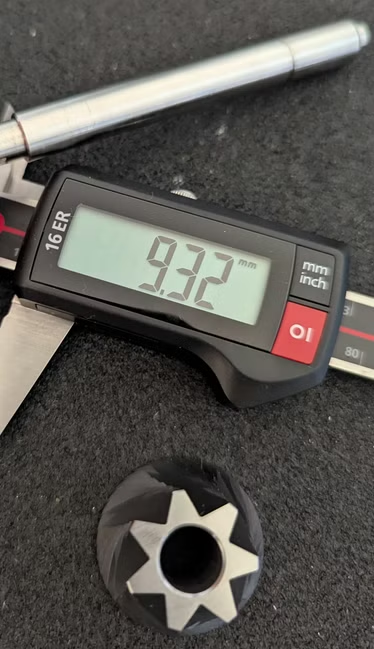
Measurements and Tolerances
Burr Components
While servicing the bearings, it’s a good opportunity to clean the burrs thoroughly and inspect them for wear.
Top Nut Assembly
Done!
This was rather annoying as the consensus is that RDT does not damange grinders that much. However, mine was almost ready for the trash.
Hope this helps you if you find yourself in the same situation!